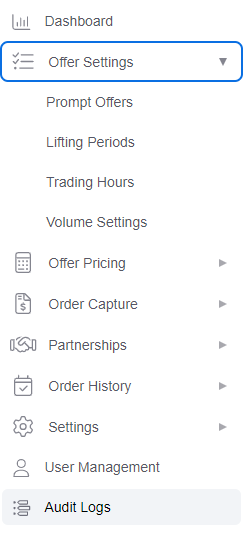
- Click the Offer Settings icon.
- Select Offers Overview.
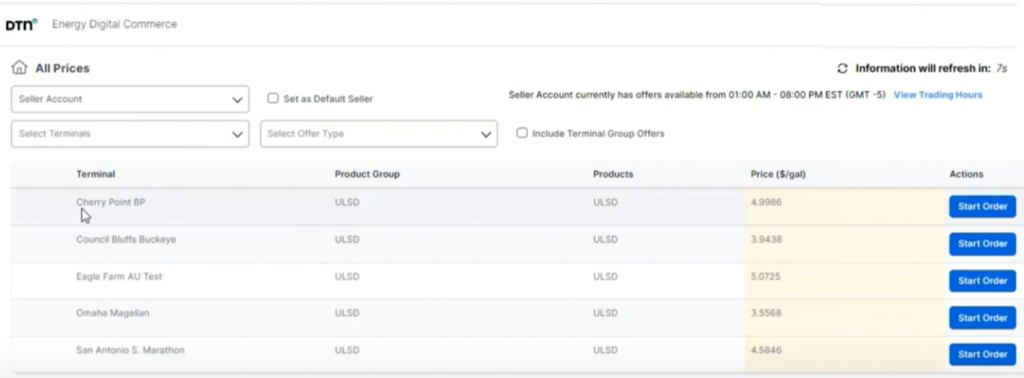
The Terminal Offers page displays a summary view of currently active offers.
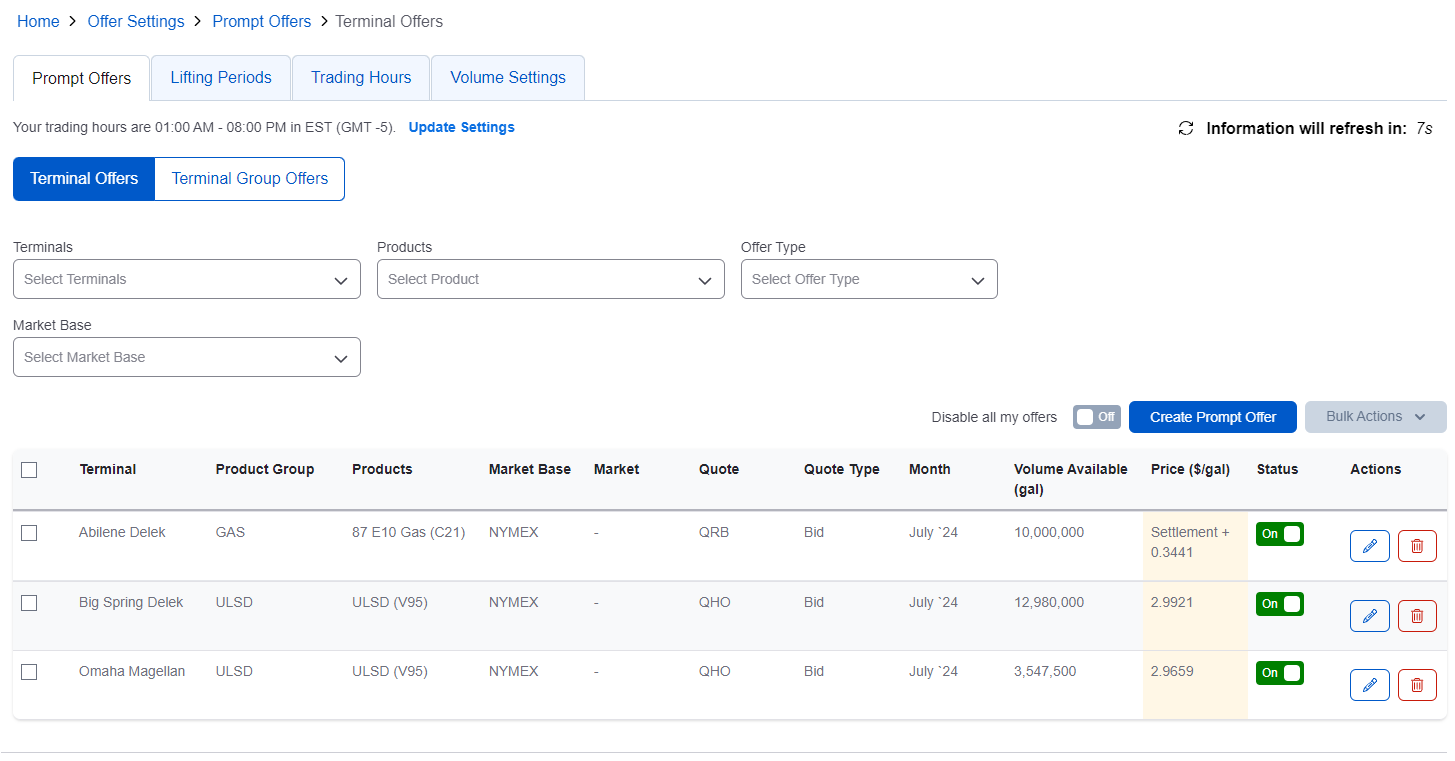
The Disable all my offers toggle button enables you to turn on/off all offers across the board.
![]()
- Click Lifting Periods.
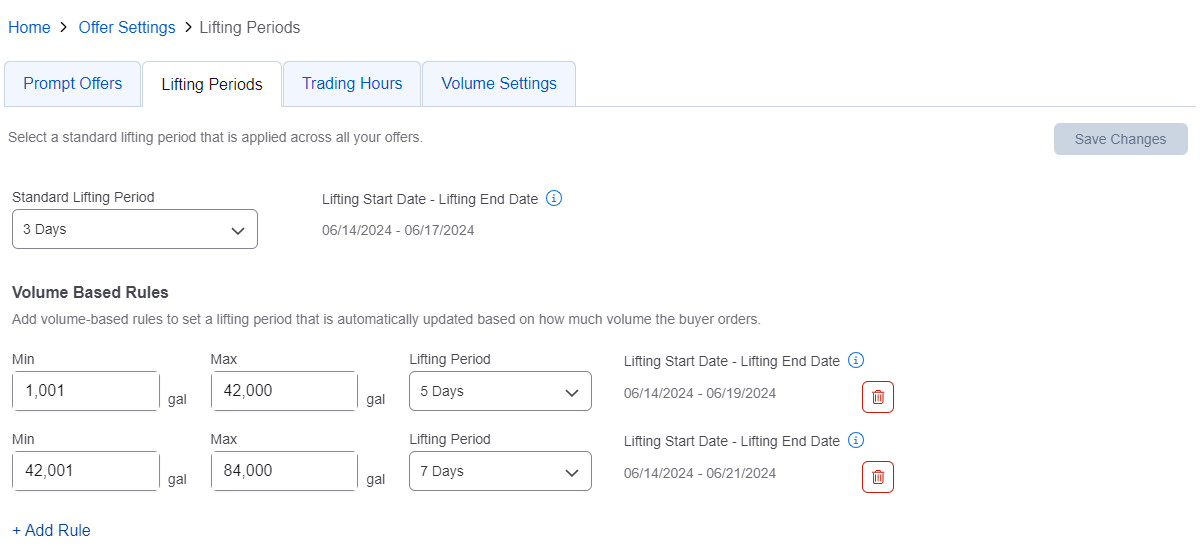
This page enables you to set a standard lifting period across all offers and to add volume based rules.
- Click Trading Hours.
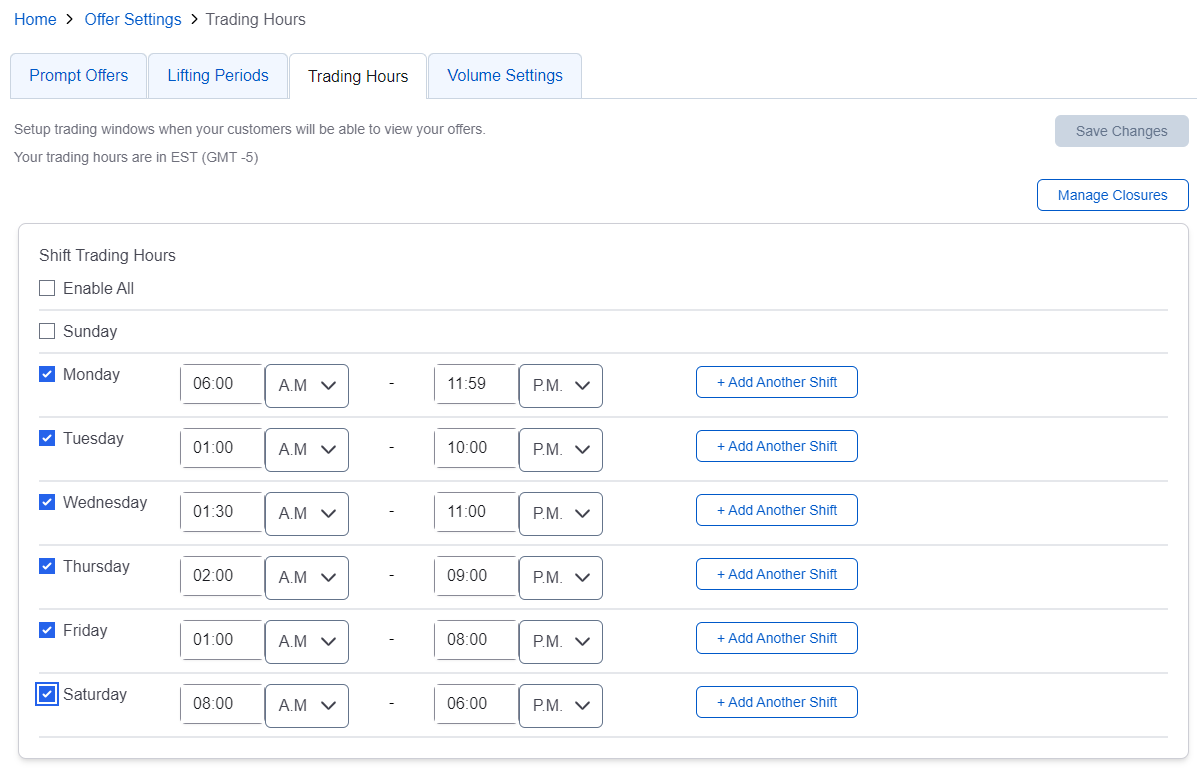
This page enables you to set trading windows when your customers can view your offers.
- To add a shift, click Add Another Shift in the row of the day you want to add a shift.
- Click Save Changes after making your changes.
You can also enter days of closure by clicking the Manage Closures button.
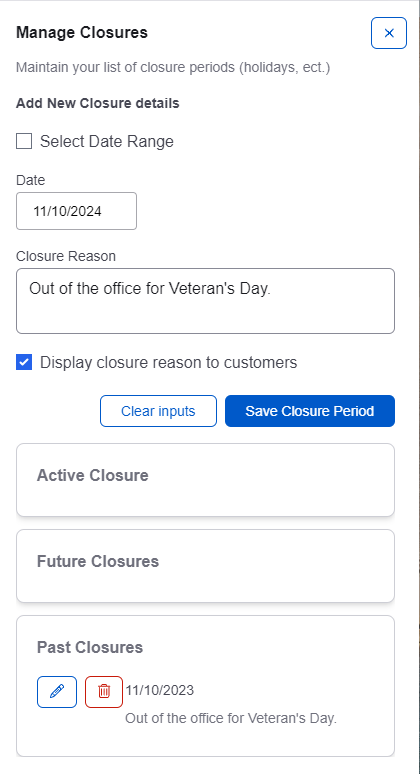
- Select a date range or an individual date and share a closure reason.
- Select the check box if you would like to display the closure reason to customers.
- Click Save Closure Period.
- Click Volume Settings.
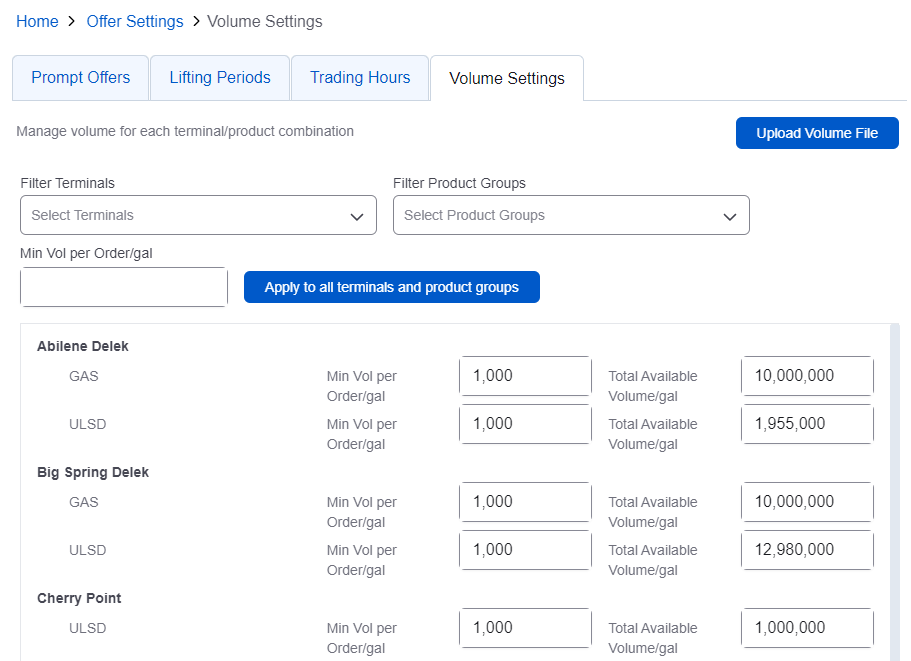
The Volume Settings page enables you to manage volume for each terminal product group.
The minimum volume per order can be set to all terminals and product groups at the top of the page.
A. Enter your minimum order in the Min Vol per Order/gal field.
B. Click Apply to all terminals and product groups.
- Set available totals individually for each terminal and product group in the Total Available Volume/gal field. This volume will decrease as contracts are locked in.
- Click Offer Setup.
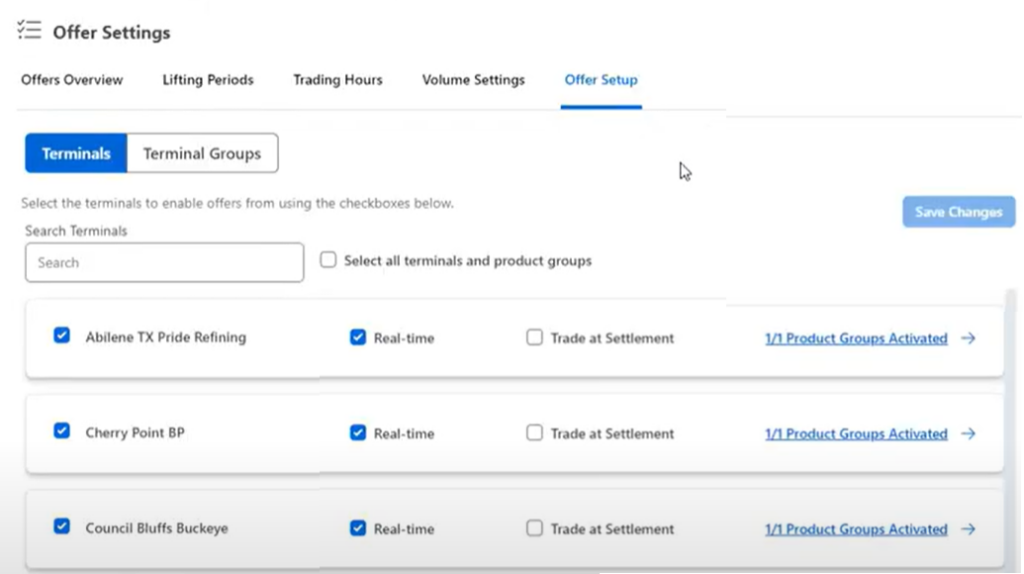
This page displays terminal product groups and allows you to enable/disable them.
- Click a terminal name.
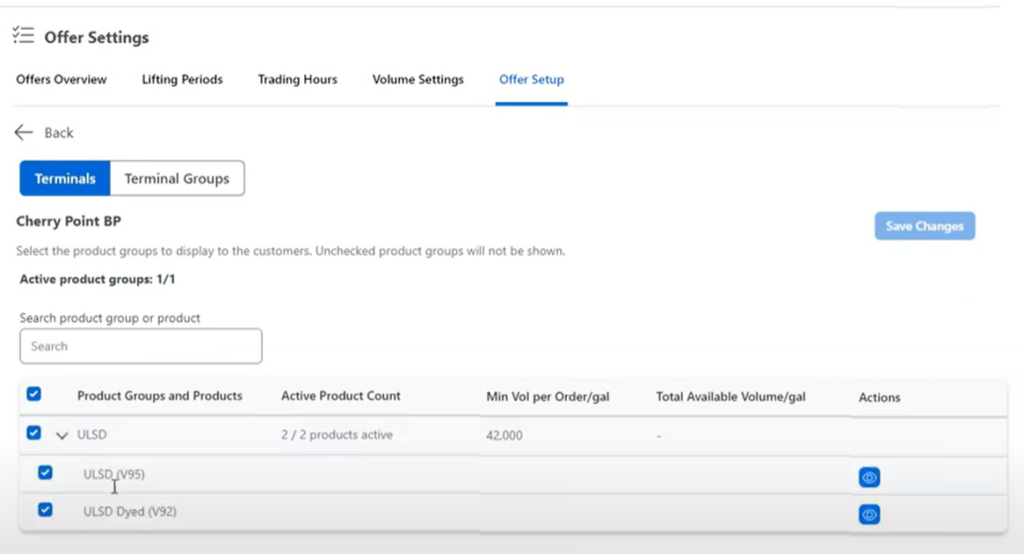
- Click the arrow in the row of the product group you want to view.
This page allows you to display or hide products on the buyer’s display. The blue check mark indicates a product is enabled. The eye icon in the Actions column will show/hide products on the buyer’s side.
- To only display the base product on the buyer’s main dashboard click the dyed product’s eye icon.

- Click Save Changes.
After making these changes, this is how the buyers will see the mail products listed.
- Once the buyer clicks Start Order, they will see both the base product and the dyed product listed.
- Back in the Seller’s view, click Terminal Groups.

If you have any terminal groups within TABS, offers can be created for any of those groups.
Buyers can pick up offers for any of the terminals within the terminal groups.
- Click Terminals to return to the Terminals view.
- Terminals can be enabled/disabled by clicking the check box next to the terminal name.
- Click Save Changes if you have made any changes.
- Click Settings and Notifications Settings on the left sidebar menu.

This page enables you to set email notifications. Use the Status toggle button to turn notifications on/off.
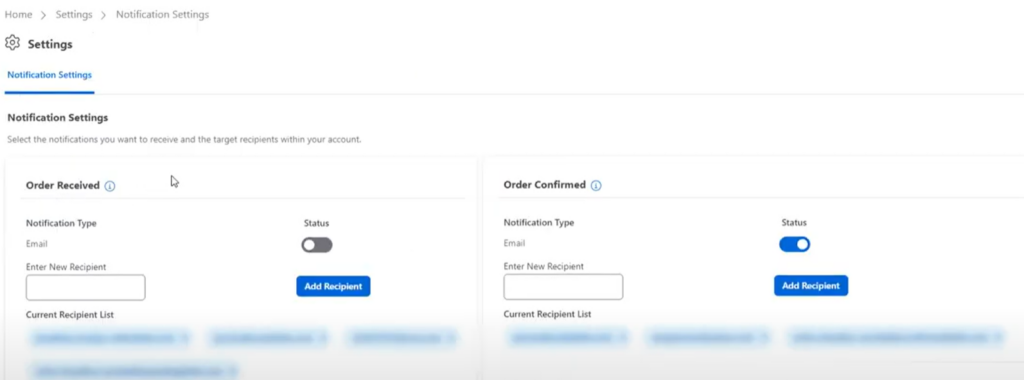
The Order Received notification will notify you when new orders are placed. Add one or more recipients by entering their email address and clicking Add Recipient. Mobile numbers can be added as recipients by using the appropriate email domain.
Visit the Energy Digital Commerce Academy page for a list of mobile carriers’ email domains.
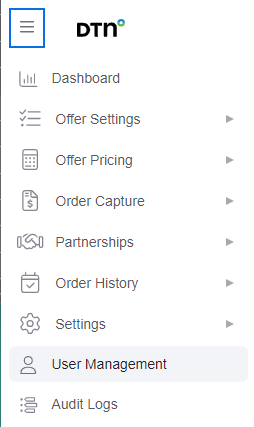
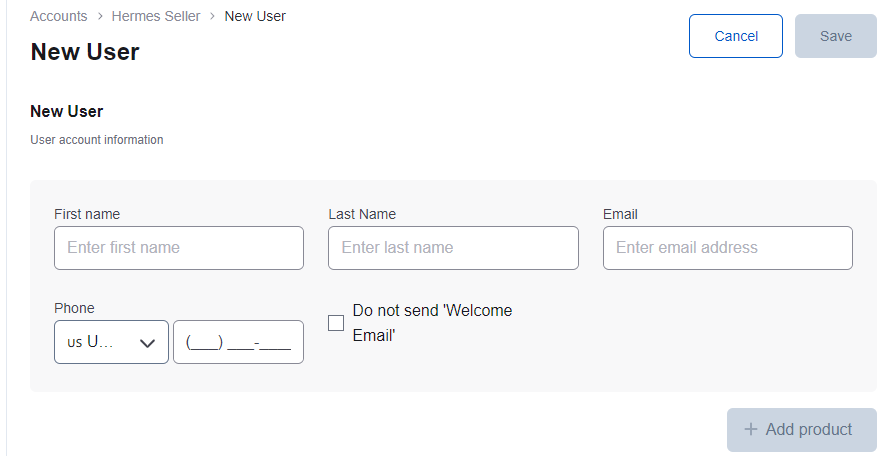
- Click User Management on the left sidebar menu.
This page enables you to manage users within your account.

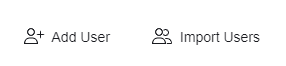
- Click Add User.
- Enter the User’s details.
- Under Products, click Add product and select Digital Commerce from the drop-down menu.
- Under Product role, select the appropriate roles for the user. Click + to select additional roles.

- Click Save when finished.
The new user will receive a welcome email with log-in instructions.